My Chocofi Split Keyboard Build Journey
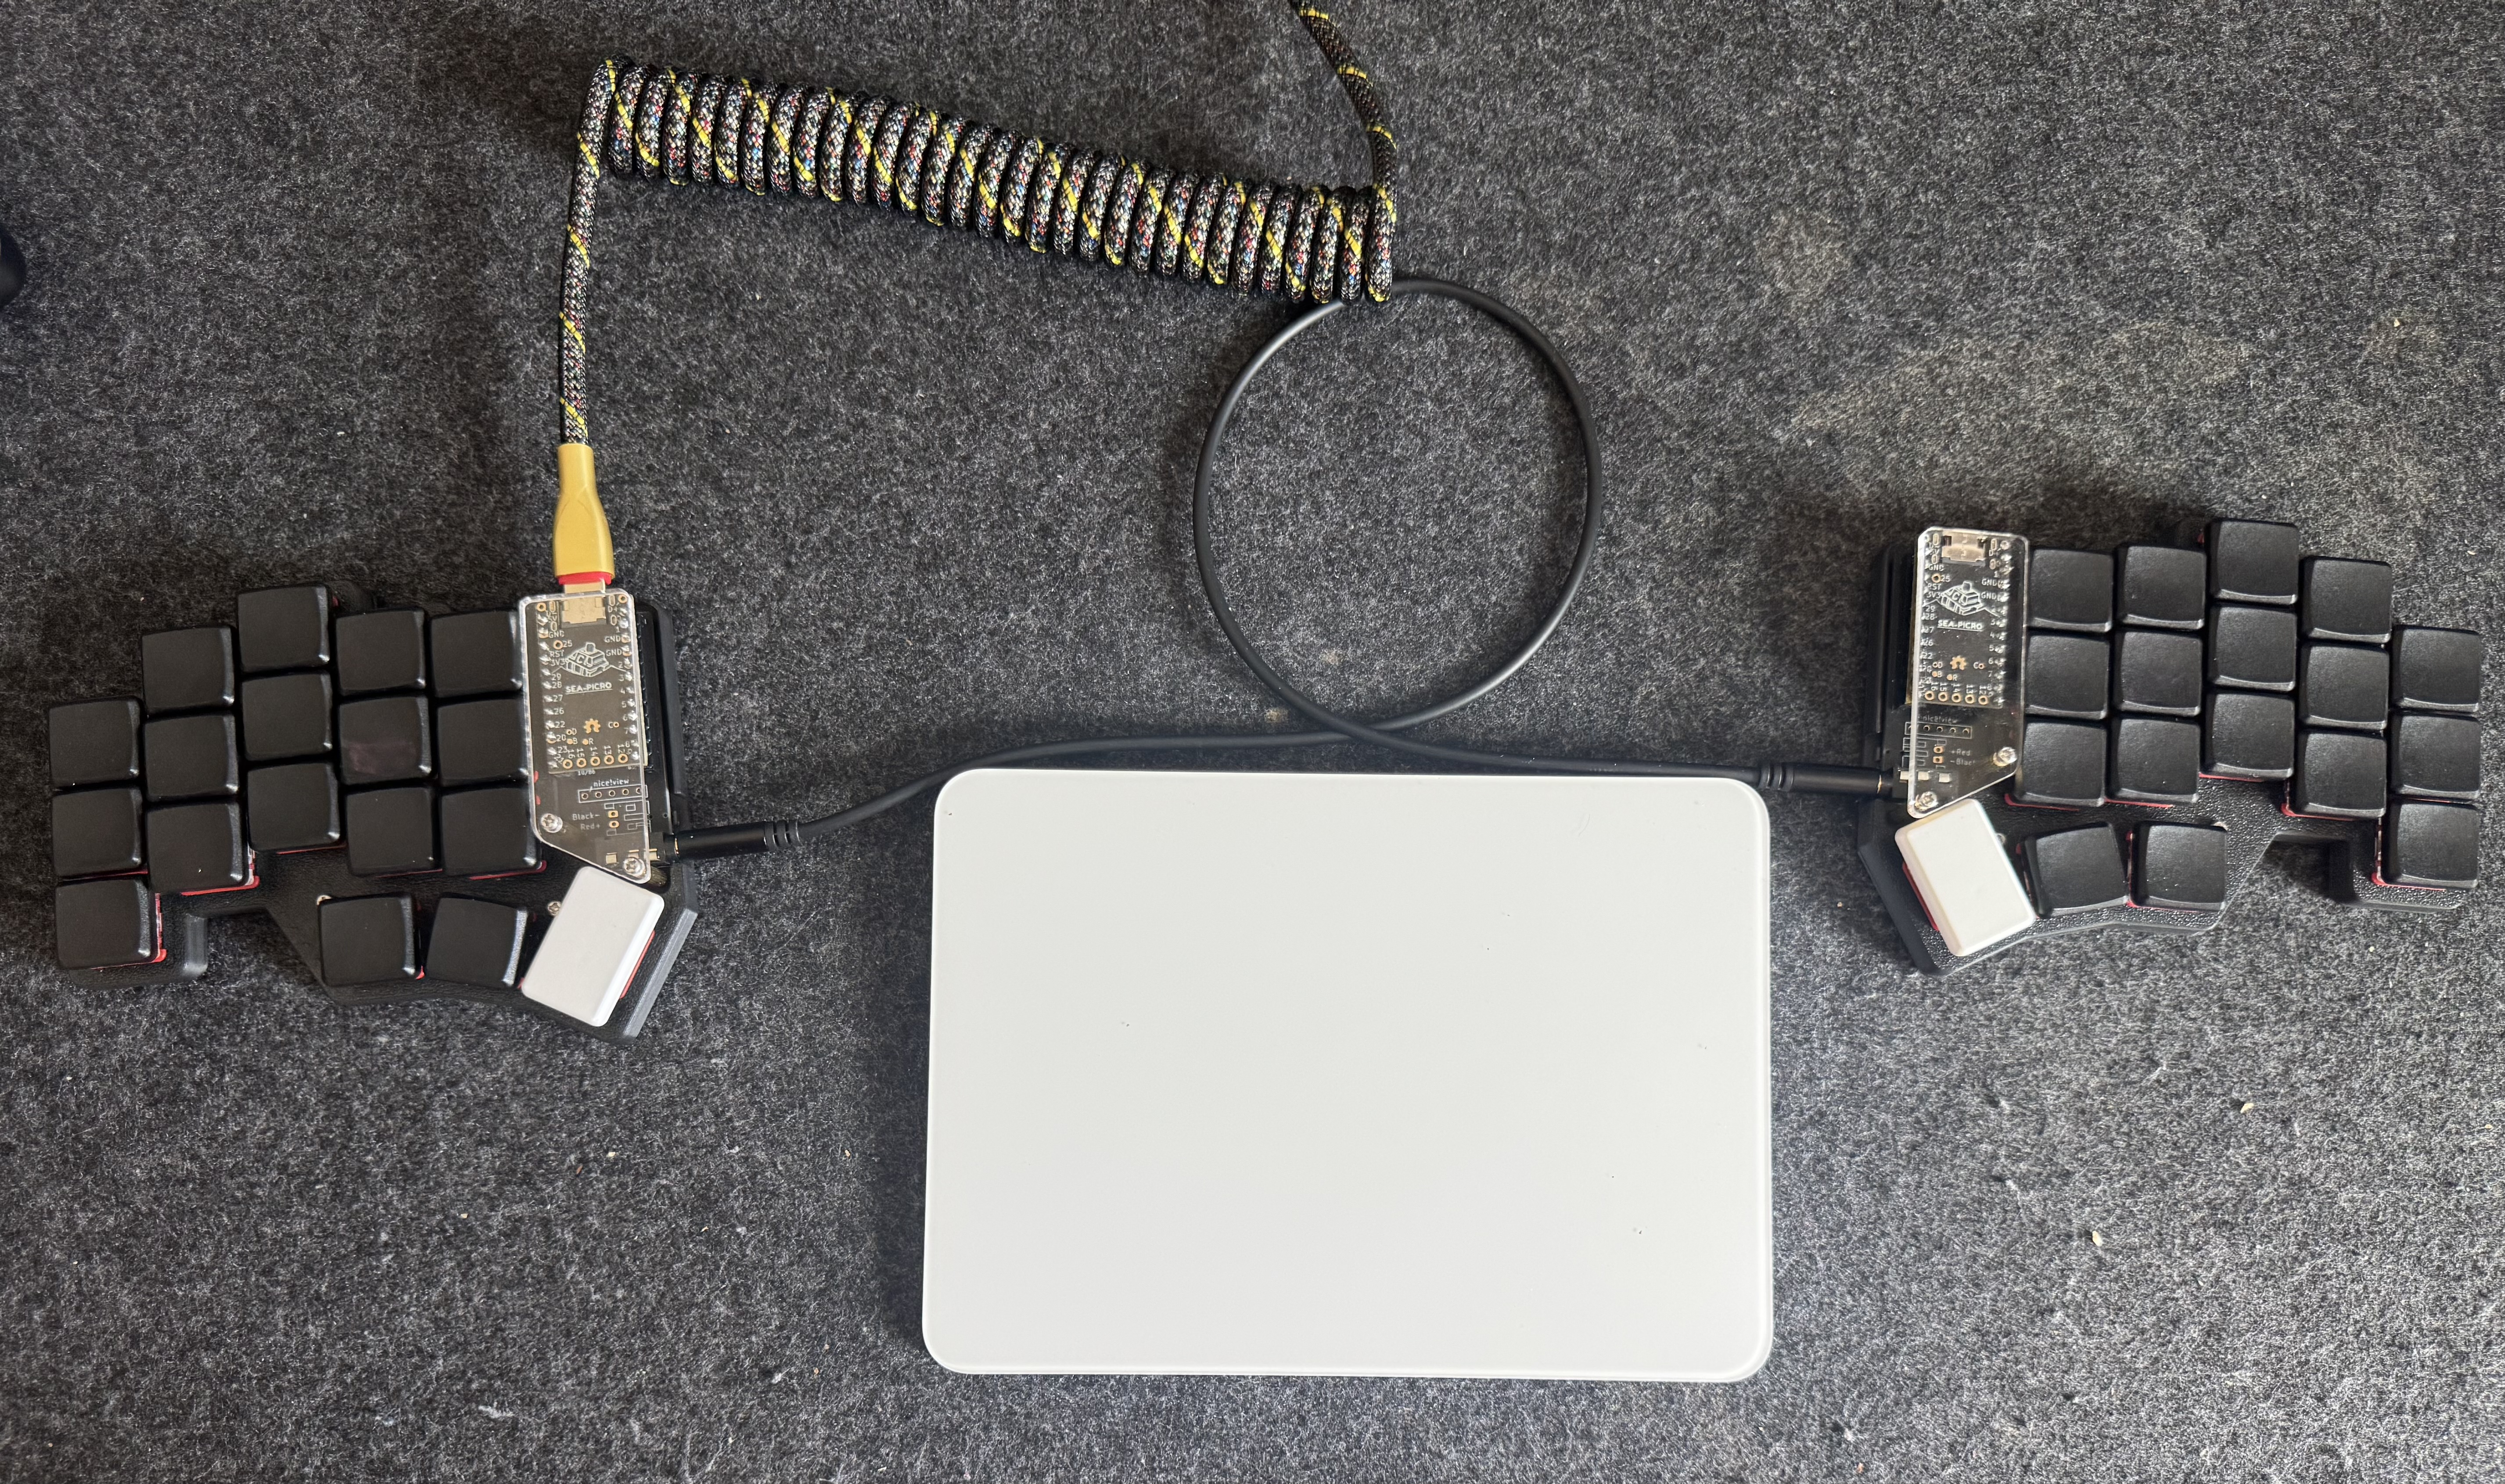 The finished Chocofi — split halves flanking a trackpad, connected with a coiled aviator cable.
Why a Split Keyboard
I’d been curious about split ergonomic keyboards for a while. The idea of keeping your hands shoulder-width apart, reducing ulnar deviation, and having full control over your layout was too compelling to ignore. After researching options, I settled on the Chocofi — a 36-key split keyboard that uses Kailh Choc low-profile switches. Minimal key count, maximum intentionality.
The Build
Building a keyboard from scratch is one of those projects that sounds straightforward until you’re actually doing it. Order PCBs, solder components, flash firmware, done — right? Not quite.
Diodes — Death by a Thousand Joints
The Chocofi has a diode for every switch, and every single one needs to be soldered by hand. These are tiny SMD components, and getting the orientation right on each one while keeping your iron steady is tedious work. It’s not hard per se, but the repetition wears on you. By the time I finished both halves, I had soldered over 70 diode joints and my flux pen was running dry.
The RP2040 Pin Disaster
Here’s where things went sideways. I was soldering the RP2040 microcontroller and made a critical mistake: I didn’t check the datasheet for pin orientation. I soldered the MPU assuming the pins ran top-to-bottom in sequence. They don’t.
After flashing the firmware and getting nothing but garbage behavior, I finally pulled up the pinout diagram and realized everything was shifted by one position. Every single GPIO connection was mapped to the wrong pin.
The fix? Desolder the entire MCU and shift every connection by one. If you’ve never desoldered a multi-pin IC from a PCB, let me tell you — it’s significantly less fun than soldering it on in the first place. Hot air station, solder wick, patience, and a few moments of genuine concern about whether I’d lift a pad. But it worked out, and the board came back to life after the rework.
Lesson learned: Always, always read the datasheet before touching your iron to the MCU. Five minutes of reading saves an hour of rework.
Switches
After the diode marathon and the MCU drama, soldering the actual Choc switches felt almost relaxing. Two pins each, clear through-holes, satisfying clicks as they seat into the PCB. This was the payoff.
Firmware: From Vial to Miryoku
Starting with Vial
I initially flashed the board with Vial — a fork of QMK with a live configuration GUI. It’s convenient for experimentation since you can remap keys in real-time without reflashing. I used it to get familiar with the board and figure out what I actually wanted from my layout.
But Vial’s GUI approach felt limiting once I started thinking more seriously about layers. Dragging and dropping keys in a web app is fine for simple remaps, but designing a cohesive multi-layer system with home row mods, one-shot shifts, and layer taps demanded something more structured.
Switching to Miryoku
I eventually moved to Miryoku, and it changed everything. Miryoku is an opinionated 36-key layout that assigns clear purposes to each layer:
- Base layer — Colemak-DH (or QWERTY if you prefer)
- Navigation — arrow keys, page up/down, home/end under your right hand
- Numbers — numpad layout on the right, symbols on the left
- Function — F-keys, media controls
- Mouse — yes, mouse keys on a keyboard
The home row mods take the longest to internalize. Your home row keys double as Ctrl, Alt, Shift, and Super when held. The timing windows matter — too short and you get accidental mods, too long and typing feels sluggish. But once your muscle memory adapts, it’s remarkably efficient. No more reaching for modifier keys in awkward finger stretches.
Was It Worth It
Absolutely. The build process taught me patience (and the value of datasheets). The Chocofi itself is a joy to type on once you get past the initial learning curve of 36 keys. Everything is intentional — there’s no key on this board that I don’t use regularly.
The combination of a minimal split layout with Miryoku means my hands barely move while typing. It’s comfortable for long sessions, and the reduced finger travel is noticeable compared to a standard keyboard.
If you’re considering building one: budget extra time for the diodes, read every datasheet twice, and don’t be afraid of the firmware rabbit hole. That’s where the real customization lives.